Access XactAnalysis SP with Your Xactware® ID (Xactware ID Help)
 Updated
by
Arianne G.
Updated
by
Arianne G.
You need an Xactware ID to access your XactAnalysis® products and accounts. This document describes how to create your Xactware ID, link your XactAnalysis accounts to your Xactware ID, manage your Xactware ID, reset your password, and notify new users to set up their Xactware IDs.
Related: FAQ > Login and password questions, Manage Accounts, User Information, Getting Started, FAQ > User Administration Questions, User Administration
Create your Xactware ID
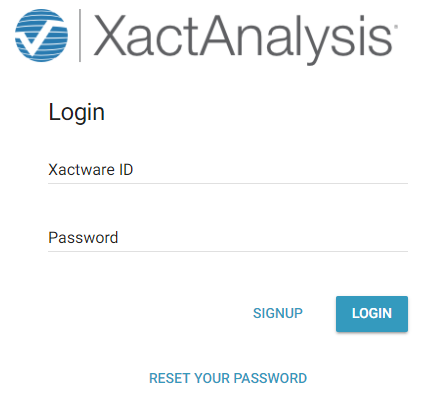
- On the XactAnalysis login page, click Sign Up.
- Fields appear where you enter your new Xactware ID (must be your primary email address), your name, phone number, email address (can match your Xactware ID or be a secondary address), and password.
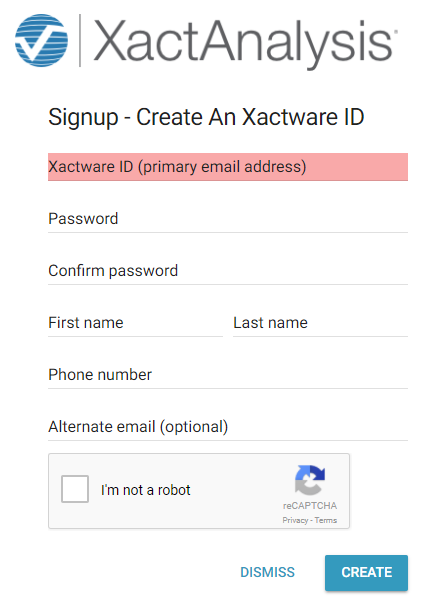
- Click Create. You will receive a verification email. If you don’t see the email, check your junk or spam email folder.
- In the verification email, click the link to validate your Xactware ID. This link takes you back to the XactAnalysis login page.
Link your XactAnalysis accounts and log in
When you log in to XactAnalysis with your Xactware ID for the first time, you will be required to link your XactAnalysis account(s) with your new Xactware ID.
- On the login page, enter your new Xactware ID and password and click Log In. You are taken to the XactAnalysis landing page.
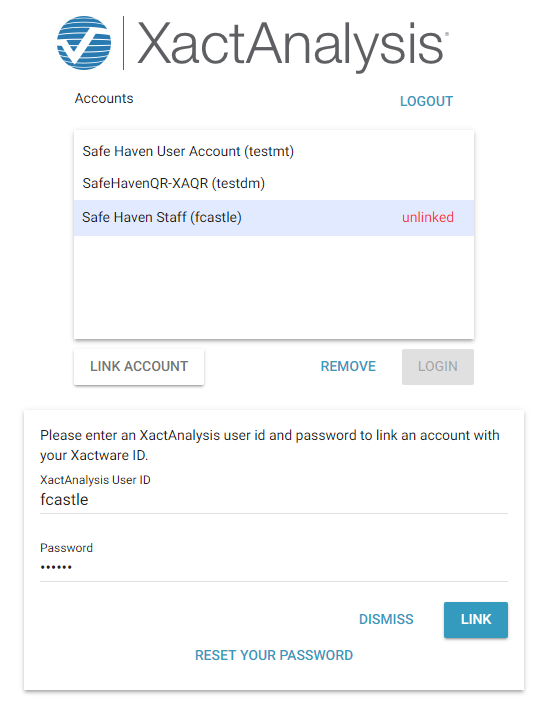
- On the landing page, your accounts appear in the XactAnalysis Accounts area. To link an account to your Xactware ID, select the account. If no accounts appear, skip to the next section.
- In the fields that appear below, enter your XactAnalysis User ID and Password for the account, and click Link. The account is no longer labeled “unlinked” in the XactAnalysis Accounts area.
- Select the account, and click Log In to go to the XactAnalysis Welcome page.

- To link more accounts, click your name in the top right corner of the page and select Manage Accounts. This returns you to the landing page where you can link or unlink more accounts.
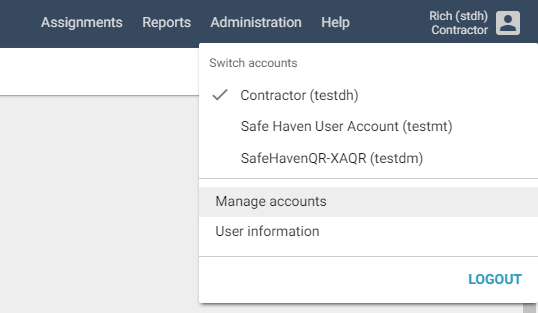
You can also select one of your other linked accounts from this menu to switch to that account. For more information, see Manage Accounts.
If no accounts appear in the XactAnalysis Accounts area on the landing page, or if one of your accounts is missing from the Accounts area, complete these steps:
- On the landing page, click Link Account.
- Enter the XactAnalysis User ID and Password for the account in the fields that appear.
- Click Link. The account appears in the Accounts area. To log in to the account, select the account, and click Log In.
Change your Xactware ID password
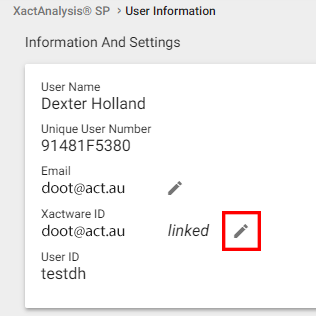
- Select User Information from the Administration menu.
- Click the Edit icon next to your Xactware ID.
- Click Change Password.
- Type your old password and new password in the provided fields.
- Click Change Password.
Reset your password
- If you forget your Xactware ID and cannot log in, click Reset Your Password on the XactAnalysis login page and follow the process to reset your password.
- If you forget an XactAnalysis password for a specific account, click Reset Your Password on the landing page and follow the process to reset the password.
Notify new users to create and link Xactware ID
When creating new users, administrators can notify them that they need to create an Xactware ID and link it to their XactAnalysis account.
- In User Administration on the Add a New User page, enter the account information, including an Xactware ID, and click Save.
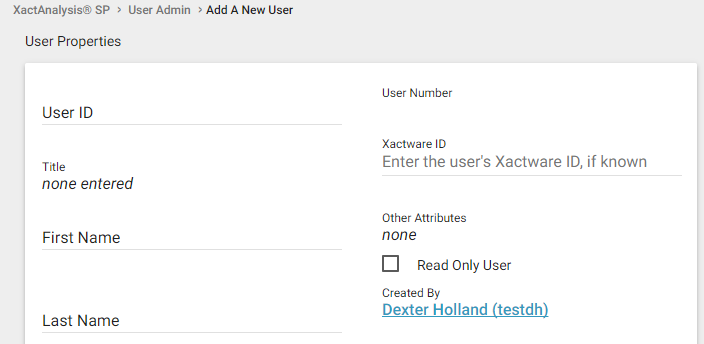
If you enter an Xactware ID that matches the new user’s existing Xactware ID, when you click Save the user receives an email instructing them to link their Xactware ID to the new account. The email includes a link to the XactAnalysis login page.
If you enter an Xactware ID, but the new user does not already have an Xactware ID, when you click Save the user receives an email that instructs them to set up an Xactware ID. The email includes a link to the Create an Xactware ID page.
For more information about adding users, see User Administration.